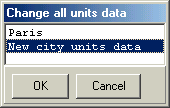
Choose "New city..." and change the name e.g. Iran1
2002-09-16
A L F A R D
Installation of Treatment Unit
Definition of Treatment Unit
This is a short description of the installation of a new treatment unit in a new oncology centre (hereinafter called ‘city’). The parameters in the following example should be replaced by appropriate data.

Choose "New city..." and change the name e.g. Iran1
Menu Setup / Edit UNIT data / Define unit Name, TPR, C(S)
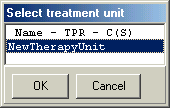
Choose NewTherapyUnit. Then fill in the form following the example given:
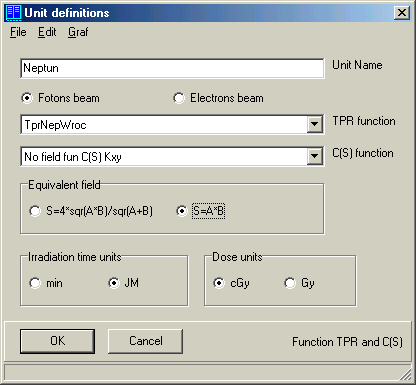
Choose ‘TPR function’ from the list. It points to an internal analytical function in the ALFARD programme.
‘C(S)’ should be undefined (‘No field fun C(S)’).
The ALFARD system must be restarted at this moment. Message boxes appear on screen after restarting , showing the following warnings ‘missing profile file for Neptun’ and ‘auto-create 1 test profile’.

Menu: Setup / edit unit data / define wedges / add new wedges
Menu: Setup / edit unit data / Define Trays
ALFARD must be restarted again. There are no warnings this time.
Parameters verification and modification
In order to verify defined unit Neptun, we must choose the menu
Setup / Edit UNIT data / Define unit Name, TPR, C(S)
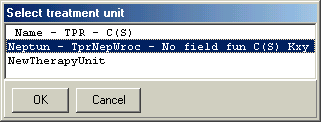
and then check the parameters of the TPR function in the menu Graf / TPR
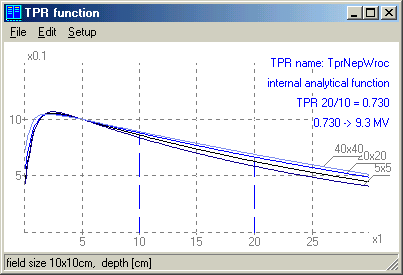
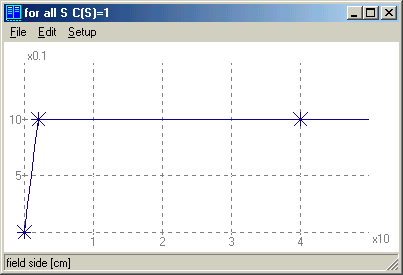
Check parameters of C(S) function in the menu Graf / C(S)
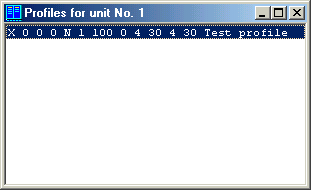
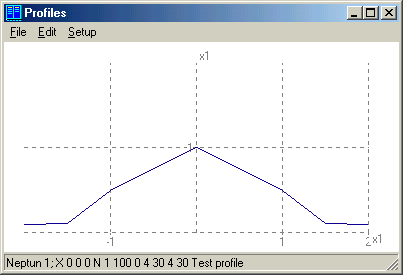
And profiles in the menu Graf / profiles, selecting one item from the list.
This is an example of profile (for tests only):
After these few steps, there are sufficient data in ALFARD for testing calculations.
C(S) Definition
C(S) functions can be defined as a table only. It must be prepared before treatment unit definition. Data for C(S) can be entered using menu:
Setup / Edit UNIT data / function library / user defined C(S) table

The table should contain the field 0x0 cm with value 0. The field 10x10 cm is reference field and for this field C(S)=1.0. After graphical verification data must be stored in file:
File / Save
The name of the function (file) must be unique. This name will be visible in the list of available c(S) functions during unit definition:
Setup / Edit UNIT data / Define unit Name, TPR, C(S)
TPR Definition
The list of TPR functions contains two kinds of data: internal analytical equations and numerical tables. User can define own tables using menu:
Setup / Edit UNIT data / function library / user defined TPR table
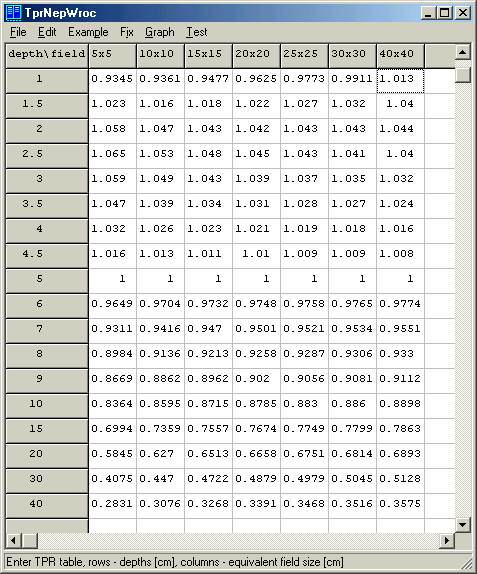
Data can be imported from text file. Tests and graphical verification should be made after filling the table. Row with values 1.0 must be present in TPR table. Usually it is depth 5 cm or 10 cm (reference depth for output dose rate measurements). Another test verifies energy of radiation. Ratio of TPR at depth 20 cm and at depth 10 cm must be calculated.
After saving the table (menu File/Save) new TPR function will be visible on the list of available functions. Table must be saved with unique name and description.
Profile function modifications (with programme POMIARY - DVPP)
Profile function created for ALFARD testing must be replaced by measured profiles. In order to edit profiles programme POMIARY (DVPP) is used:
File / ALFARD / Load profiles
Open file: Neptun.profiles. After selecting first (and the only) item on list we will see plot of our test profile.
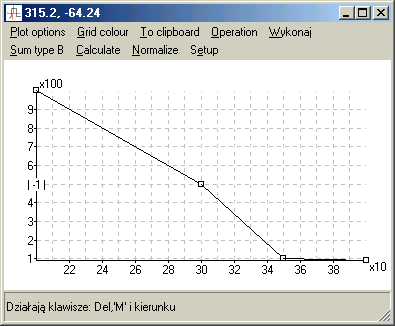
For open and symmetrical fields only a half of profile is required (and sufficient).
Values for points of profile can be changed using menu
Edit / 1 scan as text
We will have numerical data in editor window:
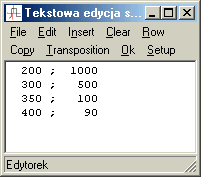
Note:
Now we are ready for entering true profile data e.g.:
200 ;1000
210 ; 997
220 ; 991
230 ; 979
240 ; 919
250 ; 673
260 ; 264
270 ; 93
280 ; 59
290 ; 43
Close editor by choosing ‘Ok’ from menu.
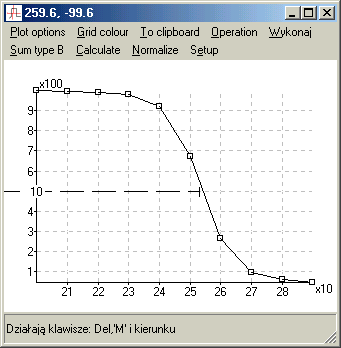
Profile data must be stored with appropriate header. Header is created automatically using menu
Edit / description, (it opens editor)
Then use menu
Insert / header for Alfard.
Programme needs to know minimum and maximum field size in crosplane (‘passive side’) and will create header. The header is as follow:
R 1 100 0 10 10 10 10 Neptun
R nA SSD Wedge SideAmin SideAmax SideBmin SideBmax Neptun
"R" means equal spacing for abscissa, here from 200 to 290 with step 10. "R" will be replaced by "N" when measured points are not equidistant.
Then we have in header seven numbers:
First: nA = "1" in our example; it’s a treatment unit code;
Second: SSD = 100 in our example; it’s SSD [cm] for which measured profile is valid;
Third: WEDGE – wedge code, zero means open field (no wedge);
Fourth: SideAmin [cm] – minimum side of field (inplan) for which function can be used;
Fifth: SideAmax [cm] - maximum side of field (inplan) for which function can be used;
Following SideBmin [cm] and SideBmax [cm] are similar, but for crosplan.
And description at the end, here: Neptun.
The header was created for this function. Function will be used only for field size 10x10. In order to apply function for different range of field header must be modified:
R 1 100 0 4 40 4 40 Neptun
Function with such header will be used in ALFARD for every field size between 4 - 40 cm.
Accuracy of calculations with one profile function is not satisfactory. In practice a few profiles must be defined for different size of field e.g.:
R 1 100 0 4 6 4 40 Neptun BOK=5
R 1 100 0 6 8 4 40 Neptun BOK=7
R 1 100 0 8 11.5 4 40 Neptun BOK=10
R 1 100 0 11.5 17.5 4 40 Neptun BOK=15
R 1 100 0 17.5 40 4 40 Neptun BOK=20
The name of the unit is followed by field size of measured profile.
Comment ‘Neptun BOK=10’ means profile measured for field size 10x10 cm.
‘Neptun BOK=20’ means profile measured for field size 20x20cm.
Special kind of normalisation X/Xo, allows to compare profiles measured for different fields. For normalisation actual abscissa is divided by the field size.
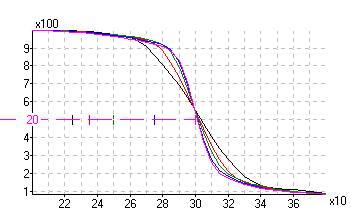
Profiles must be measured also for different depths. In the following example we have selected profiles for wedge no 58 (cobalt unit Theratron). Measurements were made at depths 3 cm and 15 cm.
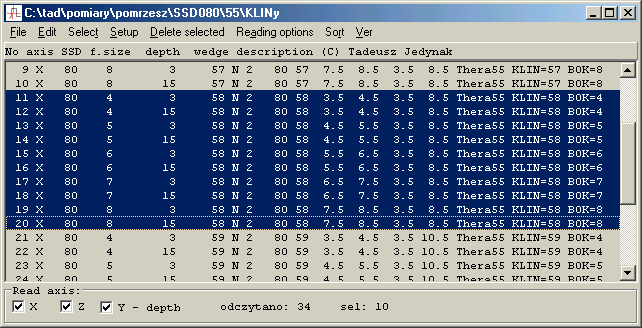
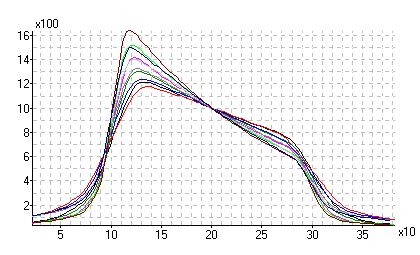
Processed profiles with headers must be stored on hard disc.
File / ALFARD / Save profiles
Note: